About a year and a half ago, a friend who is a portrait artist asked me if I was interested in trading some work. She had two sweaters that her parents had brought her home from Ireland and she wanted save them. One, a natural wool fisherman knit had a hole near the elbow. We found some yarn that was a close match and I spent a couple of nights repairing it and knitting a patch for it.
The other sweater was more of a challenge. It was a large blue fisherman's knit that was much too large for her. She wanted it shortened. I decided that it would look like a large box and I would end up cutting off about 8-10 inches off the bottom. I wasn't happy with the idea, but didn't have a better one and put the sweater away for a while. The sweater sat in my studio for almost a year maybe more. Anyway, one day inspiration struck. I decided to make it into a big coat sweater. I wouldn't have to cut any off the bottom, I could steek it and then I would only have to shorten the sleeves. Steeking is often done on Scandavian sweaters. The main body of the sweater is knit in the round, then once finished, two lines of stitching are sewn in the sweater and the sweater is cut apart to form a cardigan.
I find the hardest part of steeking is the cutting. It takes a leap of faith to trust that your machine stitches will hold and the sweater won't totally unravel once you cut it. I carefully marked the center of the sweater. In this case because of the pattern, it was easy to mark the center. I then stitched down the center twice. Once just to the left of the center, and once just to the right of the centerline.

Once the two stitch lines were made, I cut down between them and voila, I had a cardigan.


Next, I shortened the sleeves by about 6 inches using the same process: stitch using a small stitch on my machine, and then cutting the excess off.

Now the harder part, or at least the part that requires a lot more work... I had decided to make a sweater coat, and I found a design similar to this sweater in America Knits by Melanie Falick. The exact sweater in the book is the SnoqualmieStripes jacket, but I only used the cuffs and the collar for the sweater. I chose a beautiful malabrigo yarn that matched the sweater but brought in some brown, which was the color that Kelly wanted in the sweater. This is a beautiful yarn that is lovely to knit with.

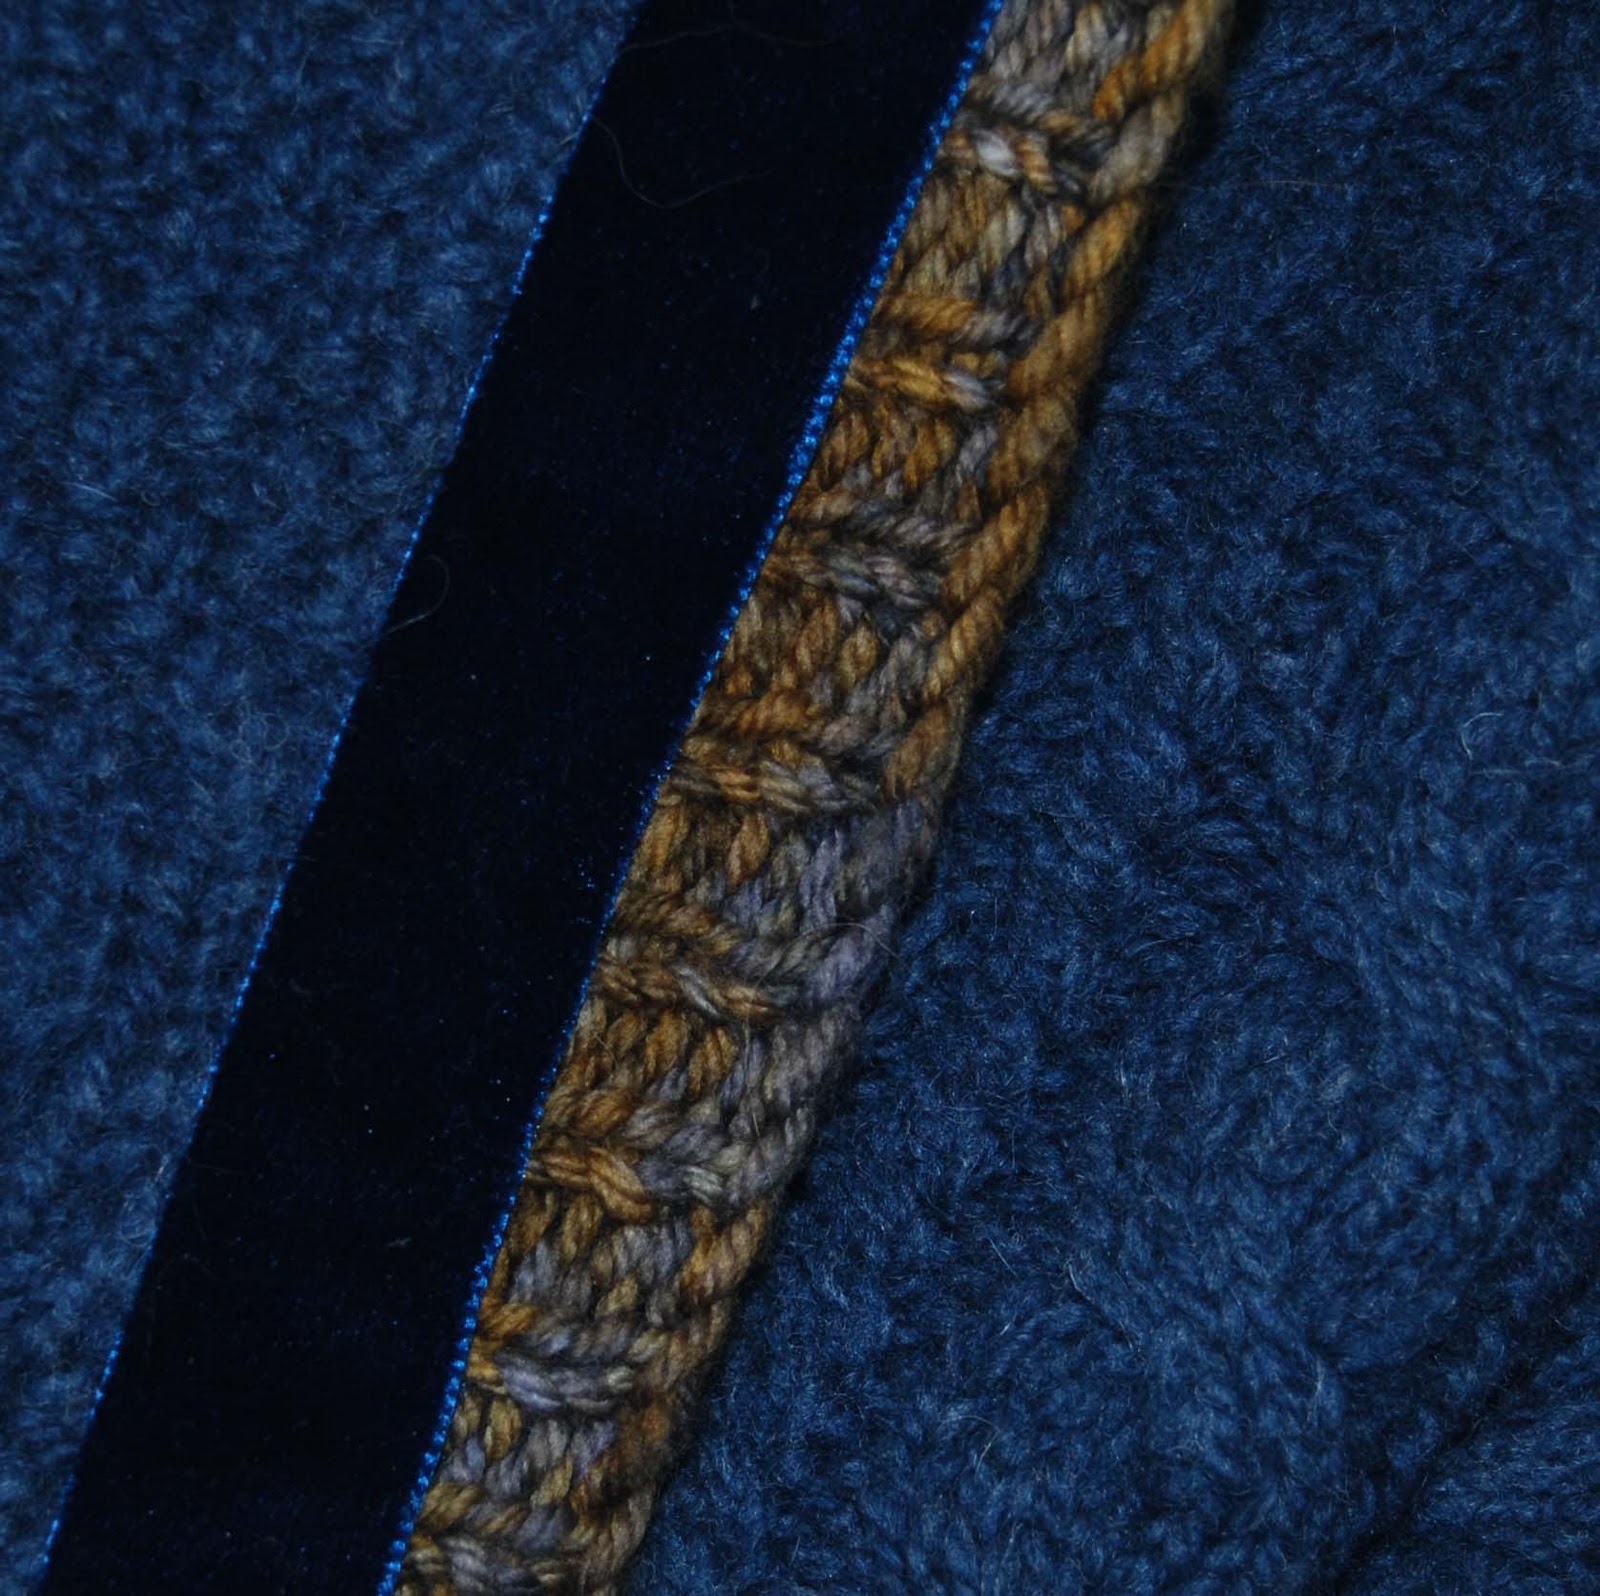
The pattern that is used for the collar and cuffs is a woven stitch. The biggest problem was that it is a very tight stitch and requires bigger needles than what the yarn calls for. Also, the first time I knit a few rounds on the collar, I found that it gathered the sweater, so I had to pick up more stitches around the sweater and use a bigger needle once I started the woven stitch. The collar seemed to take forever, but I thought it was lovely once finished. Below is a closeup of the woven stitch.

Below is a closeup of the collar with the woven stitch for the outer collar, and a rib for the inner collar with buttons and buttonholes. I love the leather look buttons with this yarn.

The last thing I did was knit the cuffs and sew them on, and finally I covered the steeked edges in velvet ribbon. It hides the rough edges and makes a beautiful seam cover and inner detail.
And finally, here is the finished coat sweater. I love the new look. I is a bit retro 80's, but it is a nice coat for layering, and it saved Kelly's sweater from the obscurity of the back of her closet. Plus, in return, I will have a nice portrait of our family dog Elsie. I will post the portrait once it is finished.

No comments:
Post a Comment