Monday, November 28, 2011

Latest project

My latest project is a design that I drew a couple of years ago, bought the yarn for, and then never started. I finally decided to get started.  It is a sweater for my daughter, who is now 8.  It will be a bit fitted at the top.  I have started from the bottom of the fitted top, and will knit up to the shoulders.  Then, I will pick up stitches for the gathered skirt at the bottom of the sweater.  Here is a sketch that I did for it.


I am using a Debbie Bliss cotton yarn in a bunch of different colors.  Right now I am knitting with red and using a bright orange to knit a leaf pattern into the bodice. 


We'll see how the sweater progresses since I have a bunch of colors and may not have enough red to do the main body and the sleeves.  I will post my progress.


Modified Sweater: steeking


About a year and a half ago, a friend who is a portrait artist asked me if I was interested in trading some work.  She had two sweaters that her parents had brought her home from Ireland and she wanted save them.  One, a natural wool fisherman knit had a hole near the elbow.  We found some yarn that was a close match and I spent a couple of nights repairing it and knitting a patch for it.


The other sweater was more of a challenge.  It was a large blue fisherman's knit that was much too large for her.  She wanted it shortened.  I decided that it would look like a large box and I would end up cutting off about 8-10 inches off the bottom.  I wasn't happy with the idea, but didn't have a better one and put the sweater away for a while.  The sweater sat in my studio for almost a year maybe more.  Anyway, one day inspiration struck.  I decided to make it into a big coat sweater.  I wouldn't have to cut any off the bottom, I could steek it and then I would only have to shorten the sleeves.  Steeking is often done on Scandavian sweaters.  The main body of the sweater is knit in the round, then once finished, two lines of stitching are sewn in the sweater and the sweater is cut apart to form a cardigan.

I find the hardest part of steeking is the cutting. It takes a leap of faith to trust that your machine stitches will hold and the sweater won't totally unravel once you cut it.   I carefully marked the center of the sweater.  In this case because of the pattern, it was easy to mark the center.  I then stitched down the center twice.  Once just to the left of the center, and once just to the right of the centerline.  


Once the two stitch lines were made, I cut down between them and voila, I had a cardigan.


Next, I shortened the sleeves by about 6 inches using the same process: stitch using a small stitch on my machine, and then cutting the excess off.


Now the harder part, or at least the part that requires a lot more work...  I had decided to make a sweater coat, and I found a design similar to this sweater in America Knits by Melanie Falick.  The exact sweater in the book is the SnoqualmieStripes jacket, but I only used the cuffs and the collar for the sweater.   I chose a beautiful malabrigo yarn that matched the sweater but brought in some brown, which was the color that Kelly wanted in the sweater.   This is a beautiful yarn that is lovely to knit with.


The pattern that is used for the collar and cuffs is a woven stitch.  The biggest problem was that it is a very tight stitch and requires bigger needles than what the yarn calls for.  Also, the first time I knit a few rounds on the collar, I found that it gathered the sweater, so I had to pick up more stitches around the sweater and use a bigger needle once I started the woven stitch.  The collar seemed to take forever, but I thought it was lovely once finished.  Below is a closeup of the woven stitch.


Below is a closeup of the collar with the woven stitch for the outer collar, and a rib for the inner collar with buttons and buttonholes.  I love the leather look buttons with this yarn.


The last thing  I did was knit the cuffs and sew them on, and finally I covered the steeked edges in velvet ribbon.  It hides the rough edges and makes a beautiful seam cover and inner detail.


And finally, here is the finished coat sweater.   I love the new look.  I is a bit retro 80's, but it is a nice coat for layering, and it saved Kelly's sweater from the obscurity of the back of her closet.  Plus, in return, I will have a nice portrait of our family dog Elsie.  I will post the portrait once it is finished.


Wednesday, November 2, 2011

Converting a Dress to a Skirt

I ducked into a resale shop recently to check out what they had.  I spotted a $300+ Versace suit, lovely, but out of my price range.   I also found a beautiful Eileen Fisher skirt, but the silk fabric had a large marred spot on the back.  I also found a great strapless sundress from Old Navy.  I was surprised it was Old Navy, since I rarely buy anything from them but T-shirts.  The fabric was lovely, but it was way too short for my less than perfect 50 year old legs, ten years ago....But that is another story.  Okay on with the story, I bought the dress for $8, what a bargain!  I took it home and decided to cut off the top and make it into a high waisted skirt.  As an inspiration, I used a great vintage Vogue pattern 2155, a Calvin Klein pattern from the 1980's that has patterns for a flared skirt with pleats and a high waisted straight skirt.

I tried the skirt on and marked where I wanted the top of the waist line to be.  I then unzipped it, cut off the top of the dress, and I trimmed the top saving it to be used as a facing for the raised waist.  I stitched the facing to enclose the raw edge which would be the bottom of edge of the skirt facing.


I then interfaced the facing.  I stitched the top of zipper so that when I zipped the skirt up the zipper tab would not come off, since I had shortened the zipper when I cut off the top of the dress.  Next, I  attached the facing to the skirt, taking care with the zipper at the top.


I pressed the facing over to the inside of the skirt, topstitched it into place, and then tacked it down at the seams.  Now, my $8 skirt was complete.  I really love it.  I think I will try this strategy again.  How else can you get a lovely fitted skirt in less than 2 hours for $8?


Tutorial for a kimono inspired girl's dress

I found some lovely floral fabric at my local fabric store that I couldn't resist.  So, I bought a couple of yards for me and my daughter.  It sat for a while in my studio until I finally got around to sewing it together earlier in the fall.   I had seen a lovely dress in a local store that I love to look in, but rarely buy from.  They have lovely children's clothes imported from Europe.  They sell the kind of dresses that little girls should wear, you know what I am talking about, cotton dresses with style, no sparkle, no "justin bieber" labels, ...  however, they are usually in the $100 plus price range, a little too pricey for me.  So, I look around for inspiration and file it away.  This is a dress inspired by one that I wanted to buy....

First, I started with a pattern that I have used multiple times, Burda 3023, but apparently this pattern is no longer in print.  I have been using this pattern for my 8 eight year old for years.  It still works because of the amount of ease.  Anyway, I started with this bodice pattern, then I extended the pattern diagonally to create an overlap in the front, rather like a kimono.


I finished cutting out the two fronts, the two back pieces, and the three skirt pieces (one in front and two in the back to allow for a zipper) out of the floral fabric and lining fabric.   Next, I  sewed the shoulder seams together on the top and on the lining top.


I placed the lining with the shoulder seams together, so that the lining would have no seams showing inside the dress.


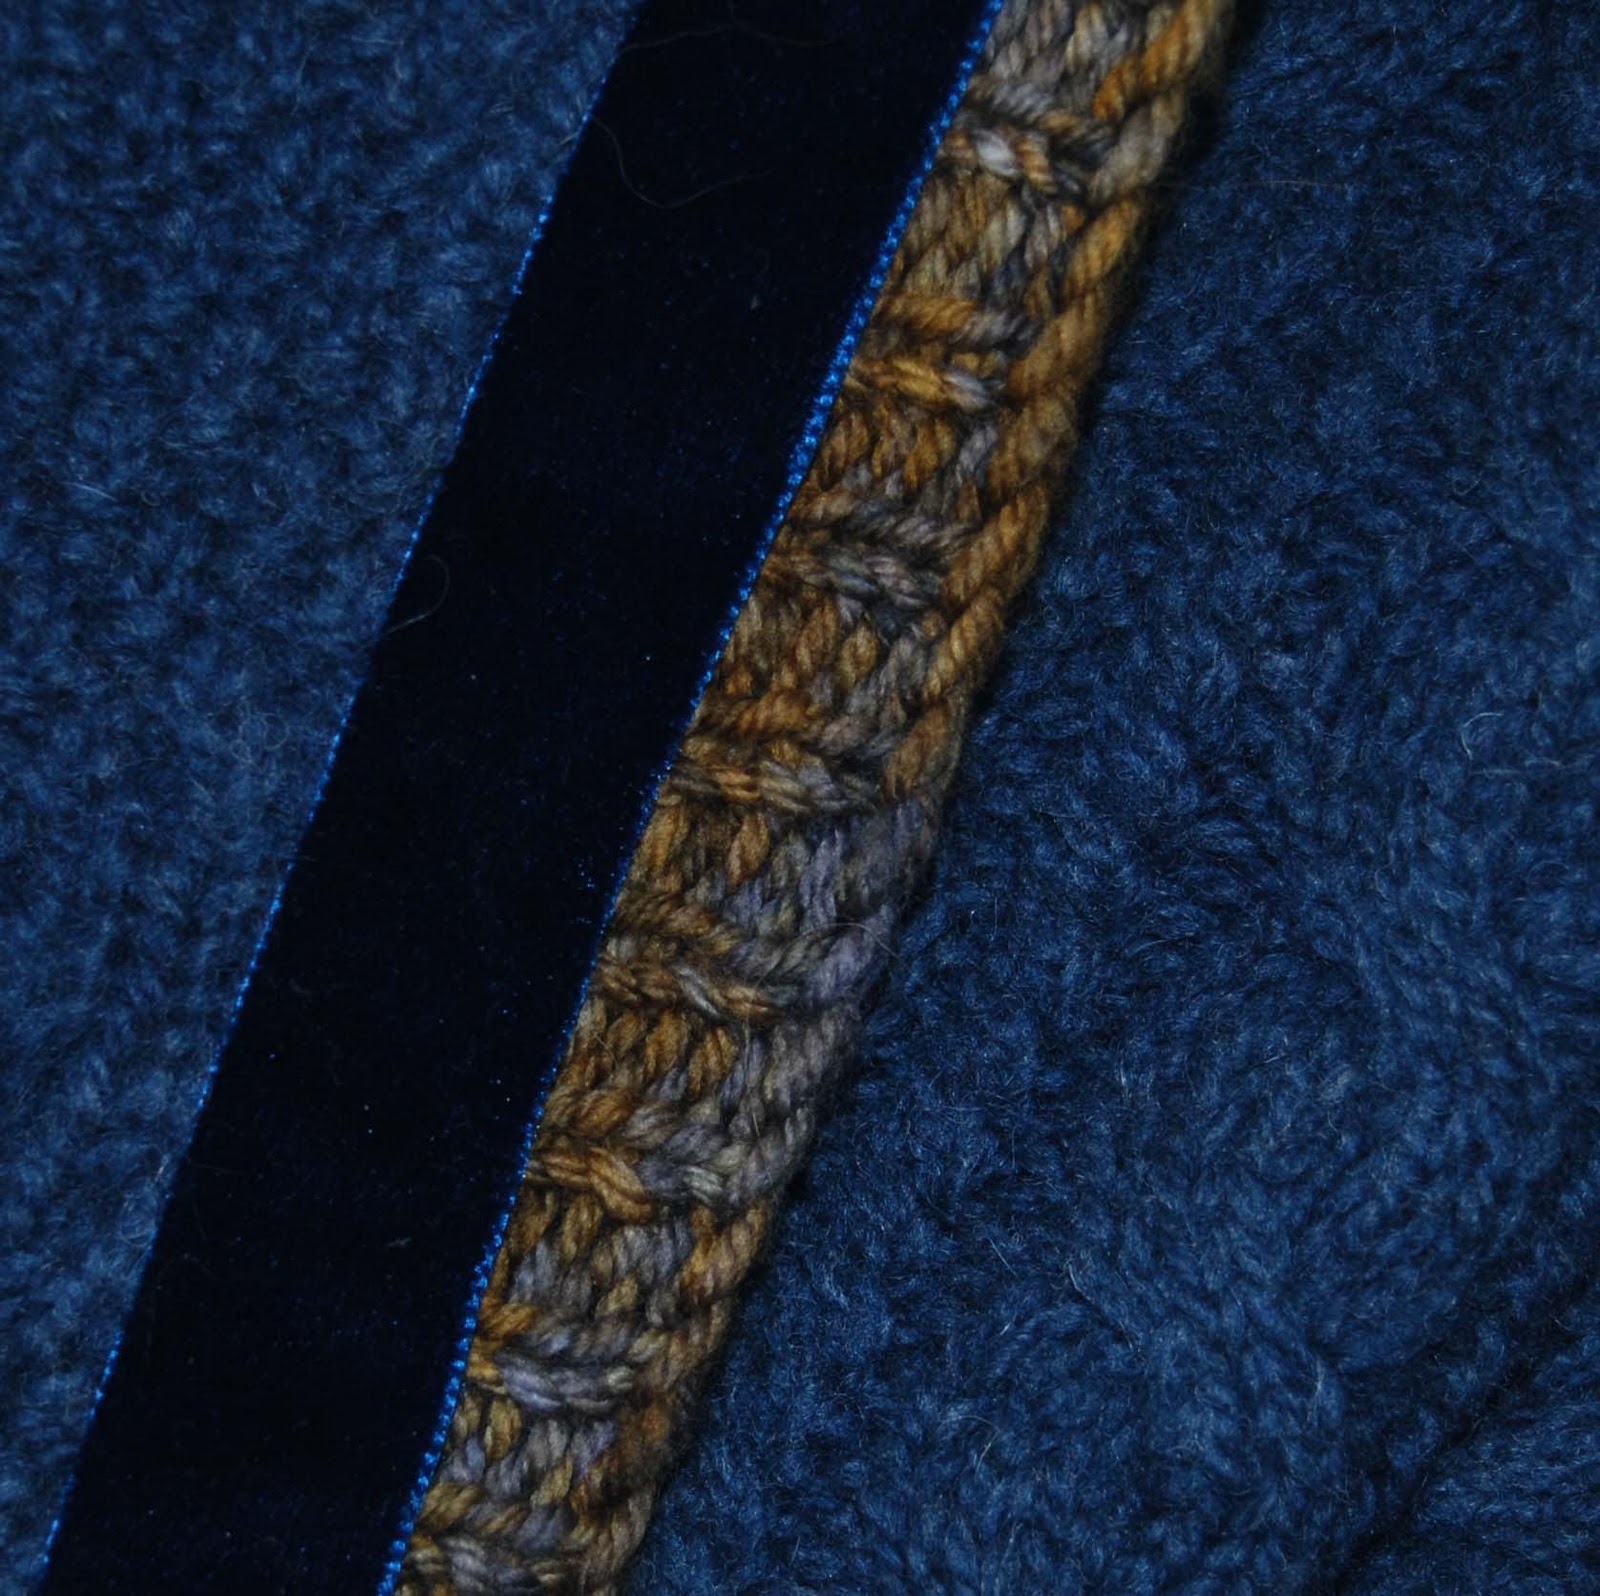
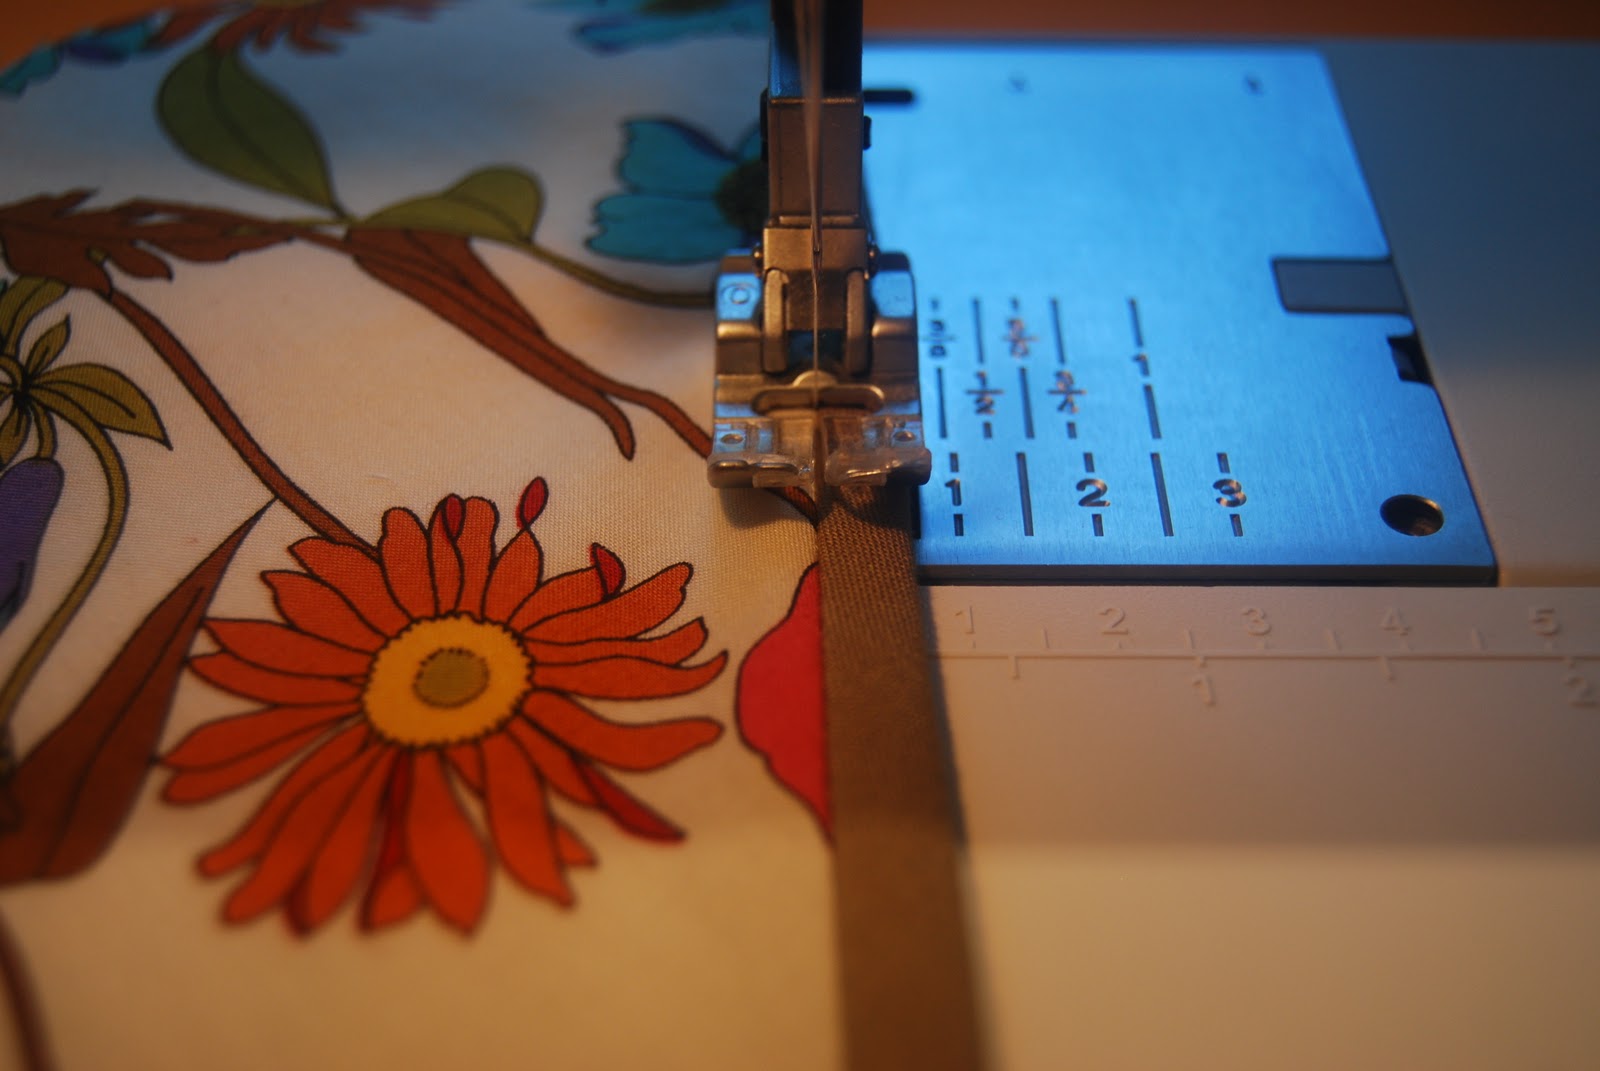
Next, I cut my own binding from a contrasting quilting fabric.  I sewed the binding to the neckline of both the left and right fronts with the inner lining in place, and then trimmed the excess.


Next, I turned the binding to the back, pressed it in place, and then sewed "in the ditch" to attach the binding at the back edge free for zipper installation.


At this point I did a fitting with my daughter.  She is tall and slim and often the patterns are too large for her frame.  As I suspected, the top was overly large.  I had her try the top on with a t-shirt, and then pinned it together noting where I needed to trim the top to fit.  I also marked the overlap point for the front pieces. I cut the excess fabric from the top side seams from the floral fabric and the lining, and sewed the side seams together.  Again, I sewed the dress and lining seams separately making sure that when in place the dress and lining seams were together, so that the lining seam would not show inside the dress.

Next, I took the front and back skirt pieces and gathered them to fit the the top and set them aside.

Now I was ready to make my obi.  I cut out four back pieces and two front pieces so that I had two obis, one for the dress and one for lining.


Now, taking my obi pieces, I sewed them together so that the two back pieces were stitched to the front pieces.


I sewed the dress obi to the top, and then sewed the gathered skirt pieces to the obi piece.   Then, I sewed an invisible zipper into the back.


Above I said I left the last bit of seam on the binding free for zipper installation, now I will sew it closed.   I folded the binding over to catch the zipper, then sewed in the ditch to secure.  As you can see below in the second photo, the job I did was not so lovely.  If it were a dress for me, I might try and make it look much better.  However, my daughter will out grow this dress in a year or less, so in lieu of spending more time, I moved on.


I then put interfacing in place inside the dress to reinforce the obi. 

Next, I attached the skirt lining, which I had cut in an A-line shape to the obi that would be in the lining.  I folded the top of the inner obi in place and pressed it down.  Finally, I carefully pinned the inner obi in place over the interfacing and stitched in the ditch to attach the obi lining to the dress.

A second detail that is still not beautiful about the inside is that the zipper shows.  I didn't do anything to hide it in the inside of the dress.


Next, I wanted to bind the sleeves.  With the same binding that I used for the front neck pieces, I bound the sleeve edges.  


Here is a photo of what the inside of the dress looks like at this point.


As a finishing touch, I decided to encase the bottom of the dress in a 2 inch hem casing of the same fabric as the obi.  I also serged the lining hem.  Finally the dress was ready for wearing.  My ballerina was thrilled.  Here she is  on an early fall afternoon in our garden wearing the dress I should have finished earlier in the summer practicing her pas de chat and arabesque.