I am going to continue with the Feliz Dress construction. Now that I have finished the overdress, I will show how I sewed the underdress. First, I decided to mix several fabrics for the underdress, but unfortunately, I didn't have quite enough to get the whole side underdress pattern on my fat quarters. Since the overdress and underdress are stitched together and the top part of the side underdress does not show, I cut the side dress into two parts and stitched them together. This way I could use the fabrics that I had onhand in my stash and know one will know, except that I am now sharing this idea with you. You can see the seam on the wrong side of the fabric in the photo below. I did this for both side dress pieces.

For the back of the underdress, there are two elastic pieces so that the dress fits a bit better and so that the child can put the dress on by herself. First you sew the facing piece onto the back with right sides facing.

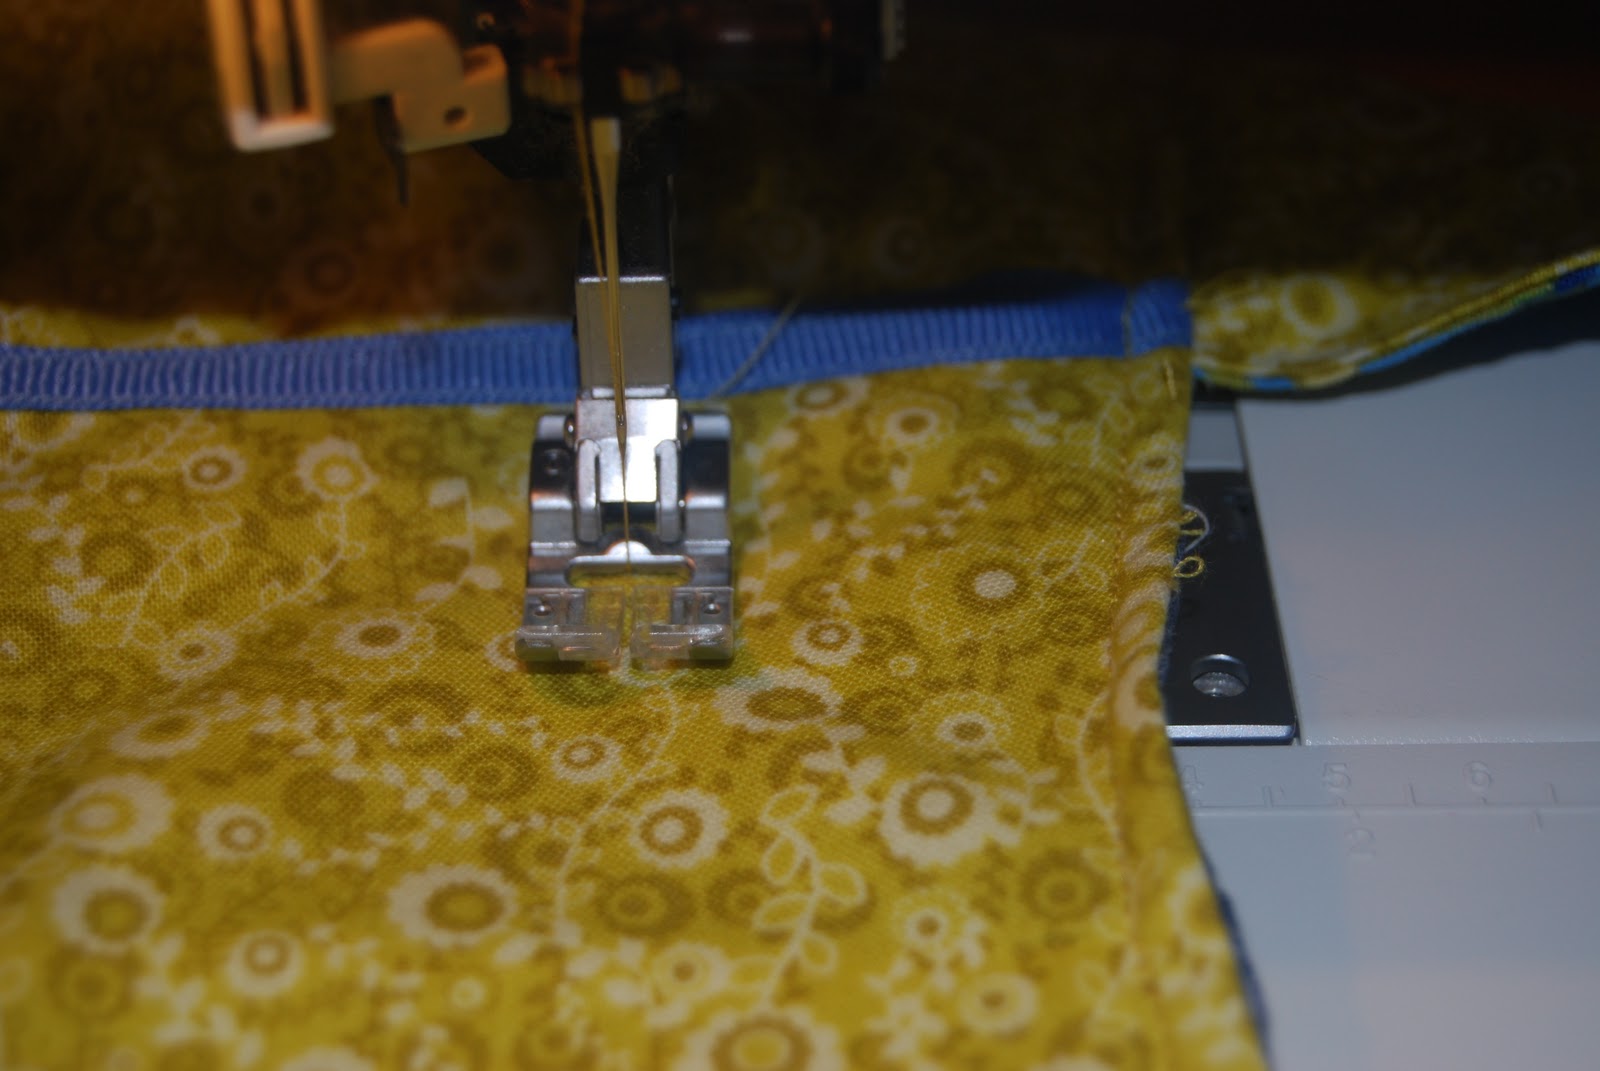
Next, I serged the top edge.

Turn the fabric and press. Next, I marked the pockets where the elastic goes through on the back with soap. My mother taught me this trick. It works well on darker fabrics. If you save slivers of soap, you can mark the lines, and then they wash away.


After I sews the pockets for the elastic. I then cut the elastic pieces as directed, and inserted them into the sewn pockets using a safety pin.


I stitched the elastic pieces securely, pulled them to about 2/3 the length to gather, and stitched the other side securely to hold them in place and cut off the excess elastic.

The finished back piece is shown below.

Next, I stitched the side pieces to the front and back pieces of the underdress.

I pressed open the seams, and then going in my own direction, rather than making a hem facing for the underdress or struggling with gathering the hem, I opted to make my own seam binding. I had some fabric in my stash given to me by a friend, so I made the binding with this polka dot fabric and then I sewed the bias binding to form a hem for the underdress.

Next, I made the straps for the dress. I made the top of them to match the overdress, I stitched the two front strap pieces to the two back strap pieces and then did the same for the underside.

I made the underside from scraps left from the fabric from the front and back pieces of the underdress.

Once the top and underside pieces of the straps are sewn together, you turn them and iron them. I then topstitched them.
Finally, you are ready to join the underdress and the overdress. WARNING: this is the most difficult part of the construction. I did this step 3 times.

You are supposed to pin the straps to the overdress as shown below.

This places the straps in the middle of the sandwich iof the over and underdress. You are to place the straps as indicated on the marked pattern, baste all the layers together and then sew them. I have to say, I did not baste them. BIG MISTAKE. You first have to align the seams of the overdress and underdress and then ease the fabric to get them to join together correctly. I found this a bit tough. I am not sure basting would have helped that much, but in any case, I sewed them together and found the straps did not fit my daughter very well. I ripped the seams and tried again, and still did not get them quite right, so then I ripped the seams just in the front part and left the rest of the dress together. Reset the straps to fit her body yet again. The third time was the charm! I suggest that you pen the dress together, baste, try the dress on your child for fit so you can adjust the straps ahead of time. Then maybe YOU won't have to sew it together three times as I did! I have to say, the directions did suggest basting.

I then sewed the pockets on the overdress for the sash to fit through.
In the final fitting, I found the front was just too wide for my daughter's slight frame. So, as I often have to do, I improvised. I made a little pleat in the front and then I sewed on a button. I figured as she grows, I can always let the pleat out. There is enough room in this dress for her to wear it a while.

Both my daughter and I were pleased with the final results. I figure as she grows taller over the next year or so, I can always add a bit of length to the bottom of the underdress with bias or facing. There is plenty of room for growth in the dress. We have been stopped around town several times by people admiring this dress and her sweater. I think the dress is well worth the effort and I am sure I will sew another Feliz dress. All is quite easy except for joining the underdress and overdress which is not hard, but takes some care. I hope these directions can help if you decide to sew this lovely dress shown below. I recently read that you shouldn't showcase your "wares" by photographing them in your house or garden, but here I go, photos of the dress in our front garden. Hopefully the dress still shows despite the setting!
  |

No comments:
Post a Comment