Tuesday, February 18, 2014

First Design for Sale on Ravelry

I have several sweaters I have designed over the past few years, but I didn't get around to writing a pattern until I collaborated with my friend Rachel Willis of Black Twig Farm to design a sweater specifically for her yarn.  Then, I looked back at my sweaters and decided that I needed to write up a few more of my designs.  I finished the first which I am calling Saturday Night Tee.   It is a sleeveless tee made for wearing on a special Saturday night out.  (I like to sketch all of my designs, so every one of my kits will have a hand sketch as a part of the label or directions.)  It is a sweater with a history. . .


I knitted my daughter a hat a while back a la Katherine Alexander.  Her class was the first knitting class I had ever taken and it was great fun.  So if you ever have the chance, you should sign up for one.  Her knits are GORGEOUS, and great fun to knit.  Anyway, I knitted this great little hat for my daughter and entered it into the Fall Fiber Festival a few years ago, and I won best in show for the hat and won 150 grams of some lovely hand-dyed wool. I tried to find the hat for a photo, but cannot locate it, it may be lost for the ages, or tucked in some deep recess in my daughter's room.  Anyway, here is a photo of one similar to it.


So, I had this beautiful yarn, but not enough to knit either me or my daughter a sweater.  So instead I decided to stretch the yarn a bit by adding in some Rowan Kidsilk Haze and knitting it on big needles, and making it sleeveless.  Here are some photos of the resulting sweater.


I like to see a sweater on a real person's body rather than just on the mannequin.  You can make anything look good on a mannequin, but not so much on the body.  So, here is the sweater on me.


It is a lovely soft sweater that feels good to wear.  I like fitted sweaters that show off a figure.  I know that I often get chilly so I decided to knit a shawl to go with it.  I decided to try my hand at Debbie New's scribble lace.  I used the Kidsilk Haze again in the same color as the sweater and added a contrasting ribbon yarn.


I get loads of compliments on the pair when I wear them.  They are a quick and easy knit and very fun.  Also,  you only need about 450 yards of dk yarn and four skeins of Kidsilk Haze for the sweater and you will have some Kidsilk Haze left over and you may need only one more skein for the scarf.  If you decide to knit it, let me know and send some photos.

In the meantime, we have been holed up at our house since we got hit with about 16 inches of snow last Wednesday night overnight and through the day.  And the three days before that I was hanging out with my son who was home with the flu and then shared it with the rest of us.  My daughter bounced back pretty quickly, but my husband is quite sick with it.  I am not so bad, but not so great either, but it means that I will be inside knitting and weaving rather than trying to do farm chores!  I am hoping that I am done digging since temperatures are supposed to reach into the 50's today.  In the meantime, I am working on my second set of directions to be put on ravelry for my daughter's Flower Sweater.  Stay tuned for that.

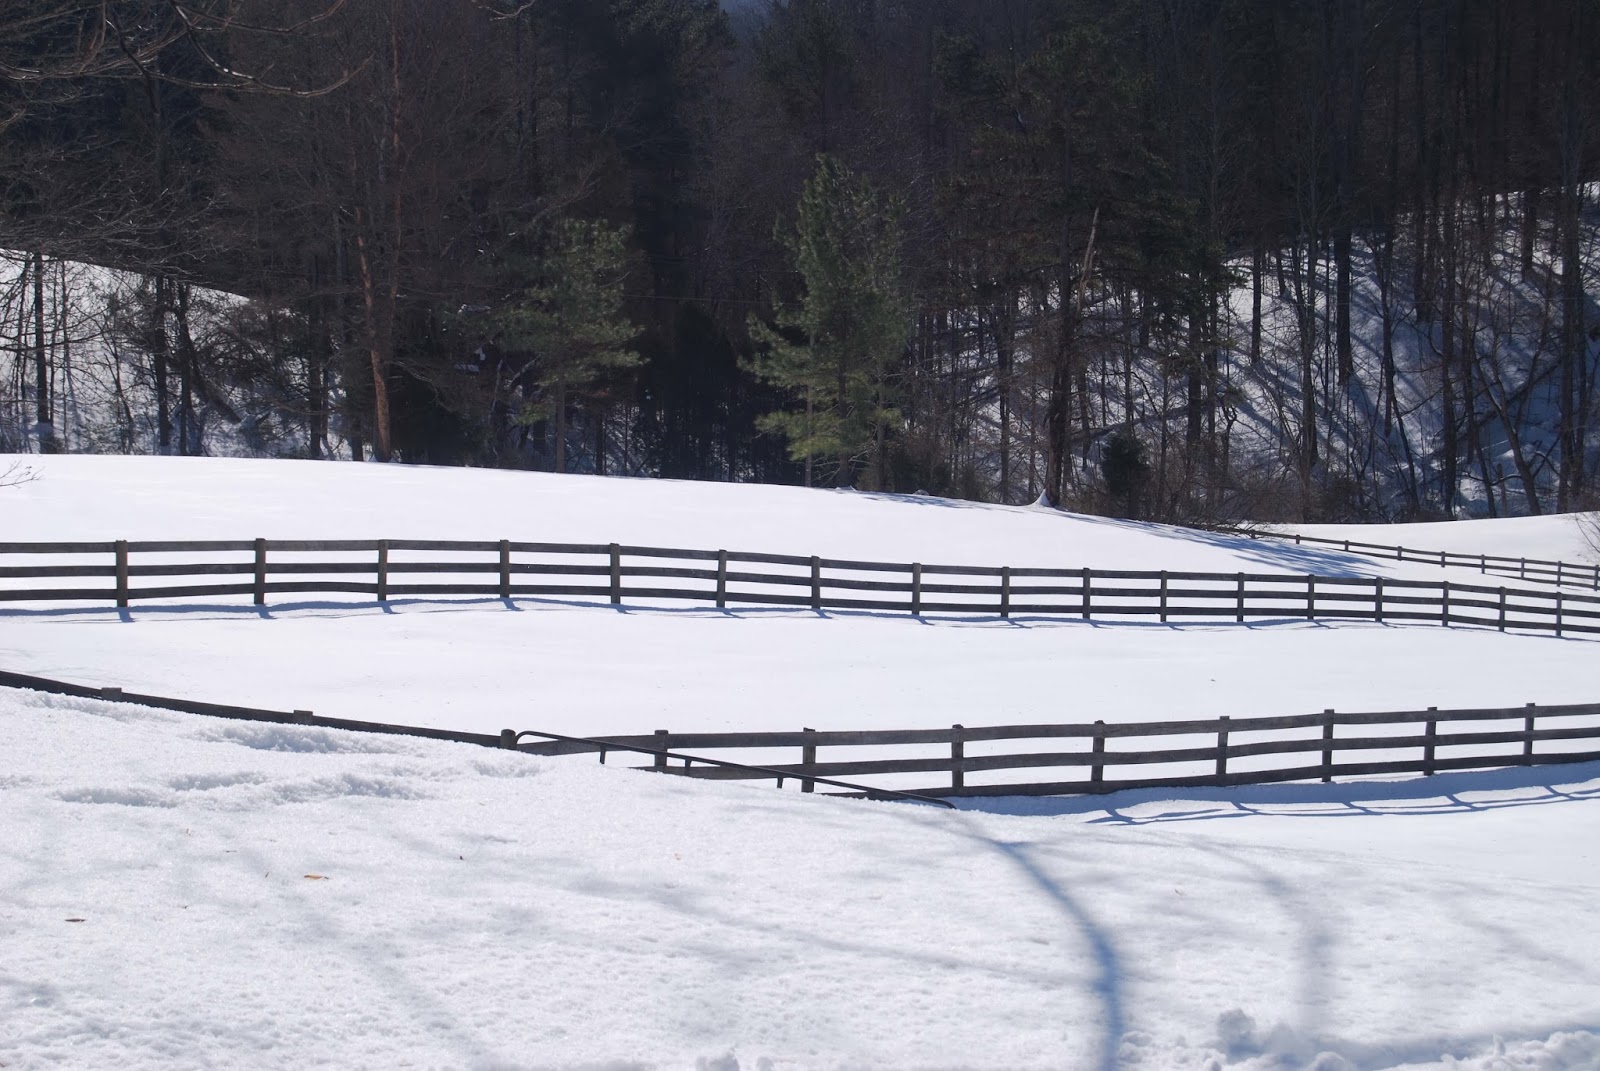
Here are a few of our winter wonderland pictures.  Just for reference, we have a four foot, four-board fence, so the first board is completely covered in snow and the show reaches the second board in a few places.

Here is our older dog Elsie enjoying the dug out path.  She is not such a snow dog as our Spinone; she tends to stay inside enjoying the sun and the fire.


Hope you are enjoying your winter and staying well.


Thursday, February 6, 2014

Weekend Wrap

I have had a ball of expensive Super soft 8 ply from Pear tree yarns in my stash for a while.  (Apparently this yarn is discontinued so I am sorry if you want to find more).  I tried knitting a shawl last year on vacation, but it just didn't work.  I kept losing my place, and I am not really a shawl person.  I was at the yarn store the other day buying some yarn for a tapestry when I spotted Coco Knits directions for the Weekend Wrap.  It seemed perfect.  I didn't have quite enough yarn, but it looked as though I could still knit it with the 245 yards I had instead of the 320 yards called for.


It was a quick knit on 17 needles.  To be sure I had the armholes placed correctly.  I knit a gauge, then measure the gauge, measured the amount of yarn that the piece took and then figured up how much yarn I needed for the bit between the armholes.  It calls for 10 inches between the armholes and it is supposed to be 20 inches long there.  So, I knitted a gauge that was 5 inches by 2 inches (I know, a little small for a gauge, but I figured there was a lot of leeway in this pattern).  So, my sample was 10 square inches and it used up 5 yards of yarn.  Next, I figured up the amount I needed in between the armholes on the pattern was 10 X 20 inches or 200 square inches.  Next I needed to figure out how many yards that was so I set up a proportion:

10 in X in / 4 yd   = 200 in X in/ L  

where L is the number of yards I needed for the middle part.

When I worked it out as 80 yards.  I measured this off of my skein of yarn and rolled it into a ball.  Now, not knowing if I had used any of the yarn when I knitted my other project for which this yarn was intended, I did not know if I truly had 165 yards remaining so I rolled out the yarn all over the house, doubled it so I could cut it in half, then wound up two balls, one for each front.  Crazy I know, but it worked.

When I was done, I wet blocked the piece and it stretched with no work to be the size specified in the directions.

Here is the wrap on me, because almost anything looks good on a dress form, but I want to see it on someone's body.  So here you are.  You can also check in Ravelry, my user id is ringadal.  The back is quite short on me, so next time I would add some stitches to get a longer back, but of course I would also have more yarn.  however, I did block it to the size stated in the pattern.


Wednesday, February 5, 2014

New New Year's Wardrobe Task

Well, last year I swore off buying clothes for the year.  I did not buy a single piece of clothing for myself with the exception of a pair of riding pants.  My old ones finally got so worn that no amount of patching could make them wearable.  My sewing skills do not encompass equestrian gear.  I tried that once a few years ago, and never even finished the pants I attempted to make.  I did get four new tee shirts last year, but all four were gifts from my husband.

This year I had not planned on doing any kind of resolution, I probably still will not buy any/many clothes, mainly because I can't afford the ones I like.  However, in reading a sewing blog that I found not too long ago,  I found a task that I was planning on taking on anyway.    Madalynne is a young sewer from Florida who now lives in Philadelphia.  She linked to Sarai Mitnick of The Collette Sewing Handbook fame as a style maven.  For Sarai's new year, she is doing a series on Architecting a Wardrobe.  I wasn't so sure I wanted to follow along at first, as I read the first few exercises, but I got to exercise 3 which was about shapes and I got interested.  I know that I need to pare down my wardrobe and really focus on the pieces that I want/need to sew to fill out my wardrobe rather than willy nilly picking things to sew on a whim.  So, I decided to give this whole exercise a shot.

So, here is goes.  I am going to summarize the first three exercises, but basically....

On Making Style More Personal and Defining a Core Style

  • I am/was a tomboy who never liked frills or ruffles
  • I like high fashion, but I am not trendy
  • I want unique, quality pieces that fit 
  • I want to feel confident and attractive without being conspicuous, awkward, gawky, or frumpy (who doesn't right?)
  • I like quirky, layered and funky, but can't seem to pull it off for myself
  • I like pieces that are architectural, unique, fitted and stylish
  • I like Ingrid Bergman and Audrey Hepburn


On Exploring Shape:  The Shapes I Love

  • Fitted dresses
  • Somewhat fitted pants (fitted, but not skintight)
  • Fitted jackets
  • Cardigans
  • Somewhat fitted outerwear
  • Skirts: Aline, straight and pencil
  • Below waist, but above hip for pants and skirts
  • High waisted skirts
  • V-necks, U-necks, turtlencks
  • Above elbow sleeves, 3/4 sleeves, long sleeves, and some sleeveless things
On Exploring Shape:  The Shapes I HATE for myself
  • Very loose clothing
  • Miniskirts (okay, I loved them when I was younger but not so much now-- a bit age inappropriate)
  • Hip huggers or anything that gives you a muffin top or someone a look down your backside when you lean over
  • Boatnecks, cowls, square, halter tops, Off shoulder, strapless
  • Cap sleeves, spaghetti straps

What would I like to wear?  Hmmmm, let me see if I can find some images.....


This image is from mage from Selvedge.  This is a Bruce Oldfield design of a boucle wool coat with a floral collar. 


An interesting jacket from Downton Abby.


A dress from Madame Gres circa 1935.  This dress is up for auction.   I do notice that all of these pieces are cream or neutral, but my color is green.  

Anyone else up for this?

Tuesday, January 7, 2014

Knitting that I won't undertake anytime soon

I thought I would post this funny photo that is from an advertising campaign in Scotland.  I don't think I will be knitting for my horses anytime soon, especially since they are both WAY bigger than these two.  But, you gotta love Shetlands in Shetlands.  My horses could use the sweaters today as the low last night was around 3 degrees.


Thursday, December 12, 2013

Revamping an Old Sweater

I made a Rowan sweater in the early 90's that I really loved.   It is called Jester by Kim Hargreaves.  It has a typical 80's and 90's sensibility, in that all of the sweaters I made at that time were blocky and oversized, no inset sleeves here.


I do love this sweater, and I have tried very hard through the years to find things to wear it with, but alas, despite all of the work, I don't wear it.  I have finally decided to update it so that I will finally wear it again.  


I will document my process and give a tutorial for doing this.  Although, the main thing it takes is guts to steek and cut the sweater once you have figured out how you want it to fit.  In the meantime, I am finishing my own sweater from our sweater kits.  I am sewing on the second sleeve and have the button band to knit.  I will post it soon.


Sweater Creatures

My son and I went to a craft fair last weekend.  I was trying to sell some sweater kits, but decided I needed little things to sell.  I spent two weeks making creatures out of recycled sweaters.  My son made candle holders out of limbs from around our farm.

I did not get any photos of the booth, but I do have some photos of the creatures.  Here is a little cashmere mouse with embroidered eyes and decoration.


 This is Katie Caterpillar.   It is fun to make these creatures.  It took a bit of practice, the first ones I made were pretty crude, but after a few hours and lots of creatures, I became much better at making things.   I really like this little one.


I have to say, although the photos don't do her justice, I just love this little cashmere bunny.  She is soft and huggable with an embroidered nose and ears.


I ended up not selling any of my creatures.  I was a bit disappointed, plus I didn't sell any sweater kits either, although lots of people wanted to buy the sample sweaters I had on hand.  I did sell a few kits.

I had mouse, monster, owl, and rabbit kits for sale.  The animals were already made, just the stitching for faces and decorations needed to be done.  I sold a couple of these kits, at least enough to pay for the booth.  My son on the other hand, sold quite a few of his candle holders.  He was quite pleased, although he did say that sitting all day at the booth was much harder than caring for the neighbors chickens!  

Wednesday, November 20, 2013

A Sweater Kit

I have been really busy these last three months with sewing and knitting projects to the point that I have not even posted anything.  For most of the time I was working to finish and write up the instructions for a sweater that I designed for a friend's wool.  Rachel Willis, otherwise known as Mountain Girl Cakes, makes her money by making cakes for weddings and other events.  In her free time, when she is not baking cakes and looking after her son, she is looking after over 100 Navajo Churro sheep.  She called me yesterday to get my daughter's cake order for her birthday and said she was in the middle of shearing.

Rachel shears the sheep with help from her husband, or maybe vice versa, then ships the wool off to be processed and spun in New Mexico.  Once she has the yarn back, she dyes it using natural dyes such as walnut, comfrey, marigold, goldenrod, cochineal, indigo, and madder.  The colors she produces are wondrous.

PHOTO
This photo comes from the blog www.beyondtheflavor.com, see their article about Rachel.

I had Rachel pick her favorite range of colors and using those I designed a sweater.  She chose the walnut yarns and we used dark burgundy dyed using cochineal as an accent.  I started the sweater at the beginning of August while in Cape Cod, and then continued the designing and knitting until we got the kits together for the Fall Fiber Festival at Montpellier in October.  That show was held in the hottest day of fall, and not a single person tried on the sweater although we did sell a few kits.

Here is the beginning of the sweater that I posted earlier.


Here are some shots of the final sweater.


It doesn't look like much hanging there, but it looks great on.  It is fitted through the bust and waist and flares out at the hip.  It falls just below the hip and has slit opening at the sleeve bottom.  The buttons are sewn on, but the sweater uses covered snaps and the button band is lined with cotton fabric to keep the band from stretching.  The collar is lined inside with a velvet ribbon for comfort.

We have several more kits made up and are now looking for a local outlet from with to sell them.

Right now, I am finishing up the body of my sweater, and hope to start knitting the sleeves tomorrow.  Mine goes from a dark brownish black at the bottom, to an olive green, a medium green, and a light green at the top with indigo blue accents.  Hope to have it finished and posted soon.